Dashware & Pegase Moto app tutorial
By Guillaume from SMT Performances | 01/10/2019
1st step :
Download and install Dashware
For free from http://www.dashware.net/dashware-download/
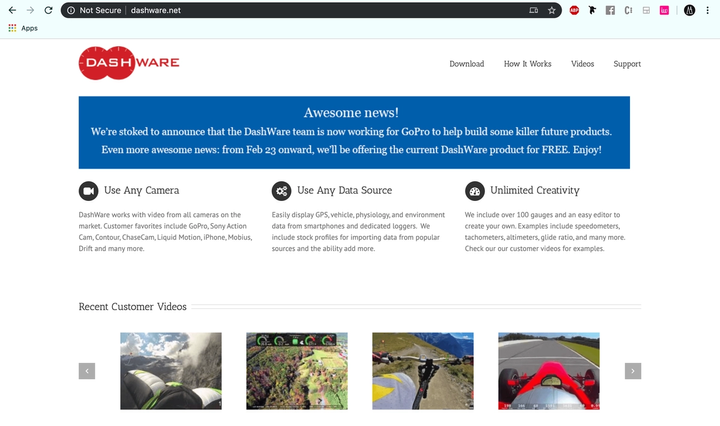
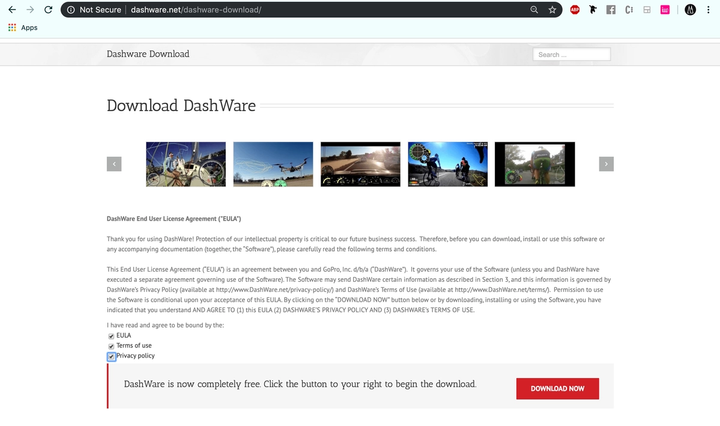
Install the free software on your computer and prepare the video of the on-board shot on which you wish to embed data.
2nd step :
Retrieve your route in GPX with the Pegase Moto application
Here's how to do that :
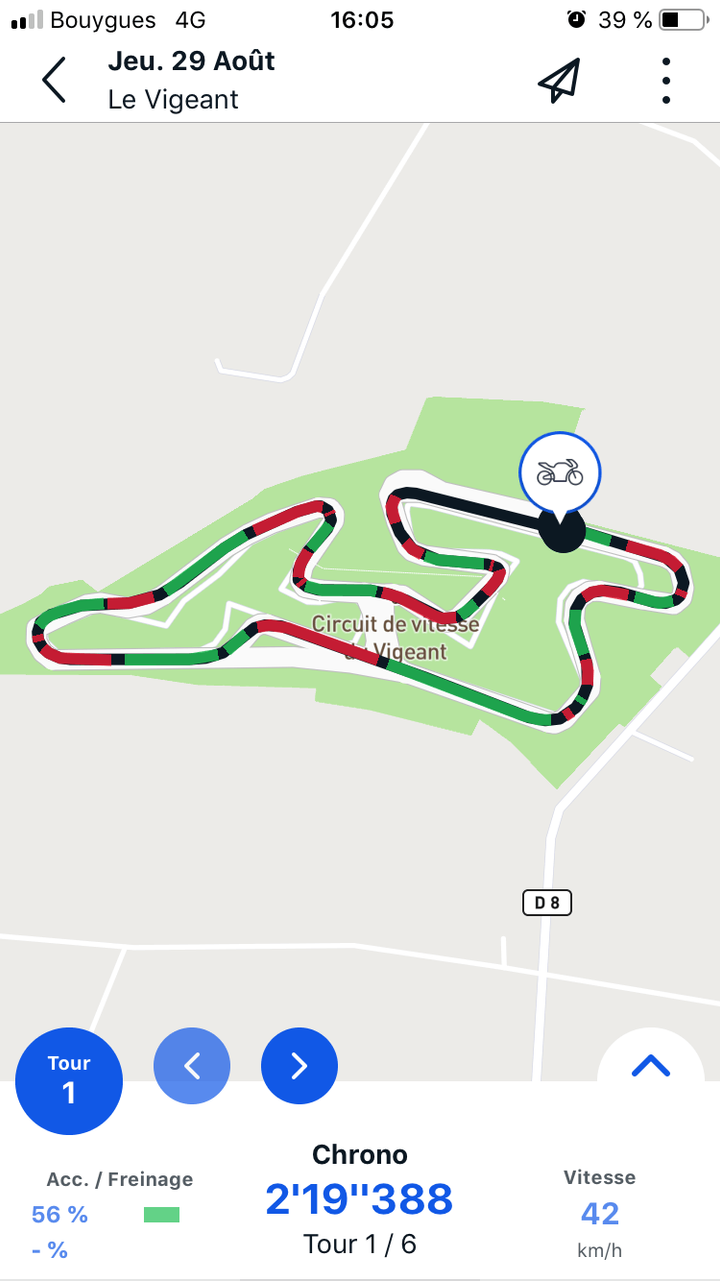
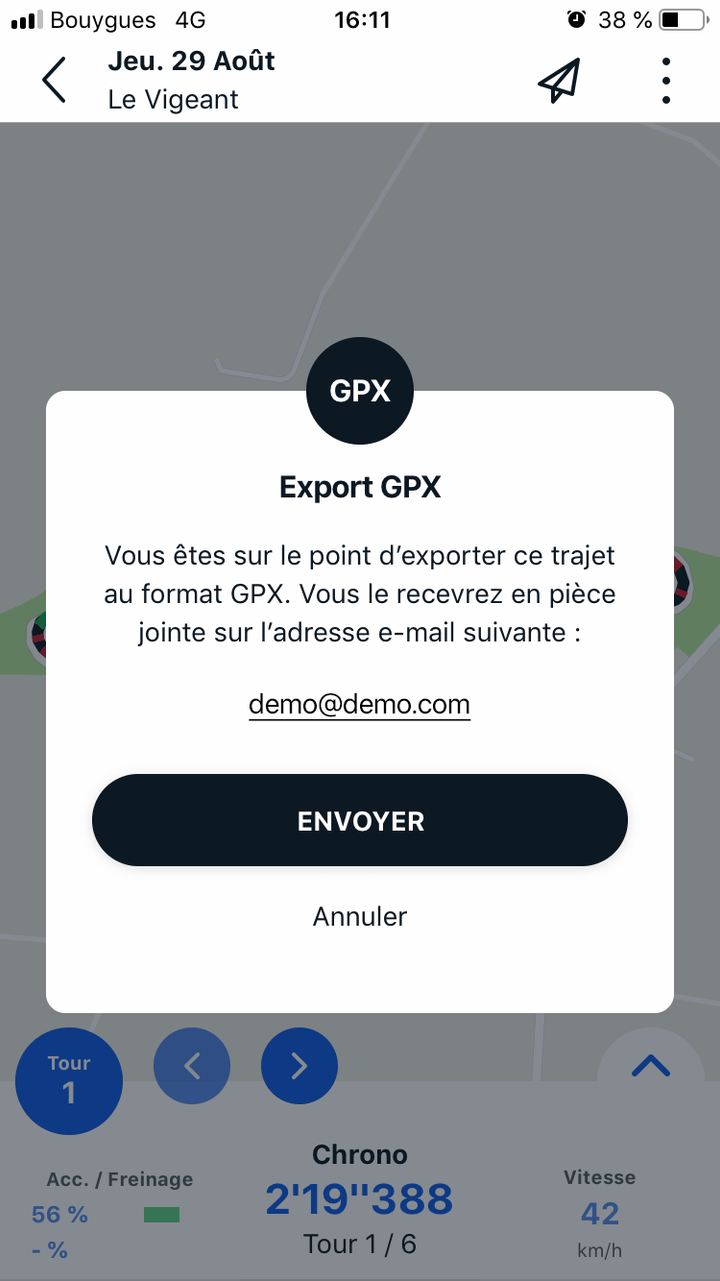
- Log on to your Pegase Moto application and select the trip corresponding to the on-board camera shot.
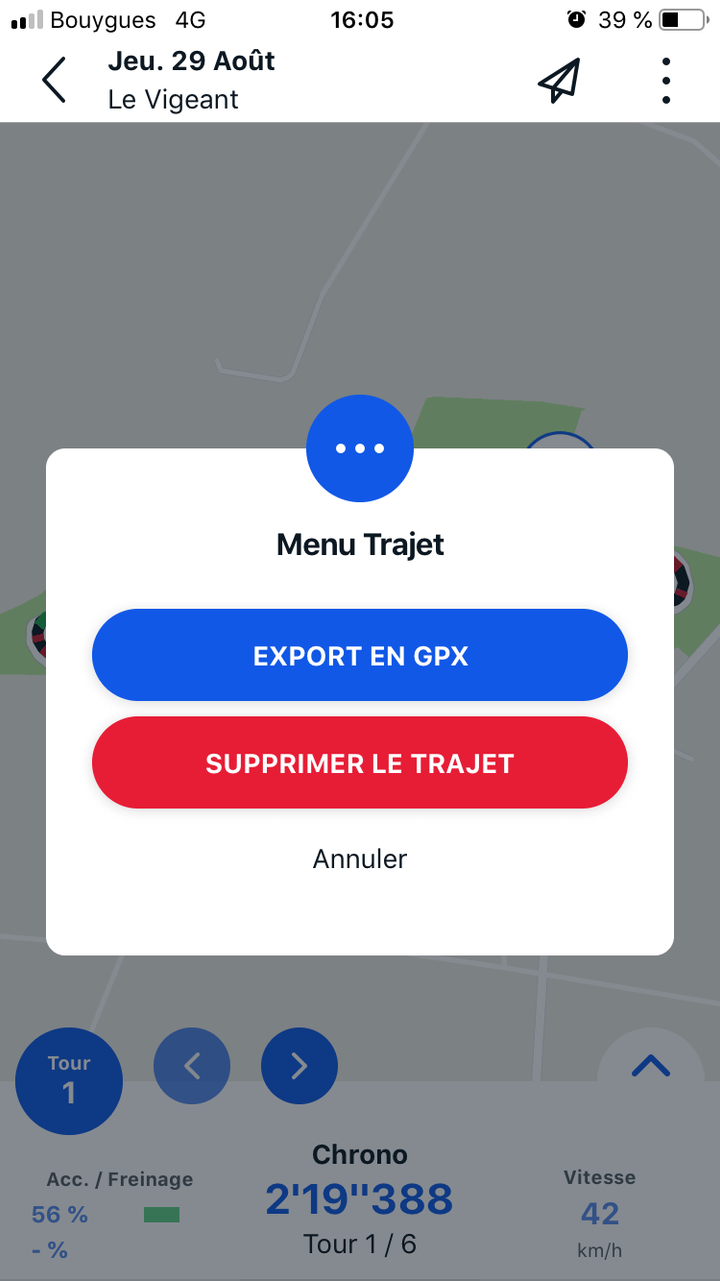
- Open the track menu and click on "Export GPX".
- Check your e-mail address and click on "Send by e-mail".
Third step :
Follow the steps of the video tutorial to synchronize a GPX file with an in-car camera video on Dashware :
Complete video tutorial of an onboard camera video editing with a GPX export from the Pegase Moto and Dashware application:
Launch Dashware
Create a new Dashware project
Click on “Files“ / “New Project“, then select “Template HD Racing Template“, and click “OK“ to create your Dashware project.
Import video and the GPX file using the Dashware "Project" tab
Once the new project is created, on the right part of the screen, under the "Project" tab, click on "+" of the "Video" line and add the desired onboard camera video. Repeat the action on the "Data File(s)" line by adding the GPX file downloaded with the Pegase Moto application.
Synchronise the video and GPX file
To synchronize the GPX file and the video, select the "Synchronize" tab on the right side of Dashware.
Using the video playback pointer, and the GPX file, match the actual positions of the rider's location on the bike, to his location on the GPX file.
Click on "Sync with video" once your synchronization is complete, you can then play the video and see the gauges evolve according to the driving and the time.
It may be necessary to play the action several times to get an accurate synchronisation. For more precision, uncheck "Sync with video" and use the arrows to the right and left of the play buttons to navigate precisely through the GPX file and the video. Don't forget to check "Sync with video" again to re-sync the GPX file and the video.
Moving and editing gauges
Tap and drag the gauges directly on the video to change their positions.
Press the delete key on your keyboard to remove a selected gauge.
Double-click on a gauge to enter its menu. You can then change its shape, colours, and texts.
If you make a mistake, press the "ctrl+Z" keys on your keyboard to go back.
Adding new gauges to the video
Under the "Gauge Toolbox" tab on the right hand side of Dashware, select and drag the gauge of your choice directly onto your video on the left hand side of Dashware. You will then see a new gauge appear.
Note that many gauges are dedicated to other sports (bike/car/wingsuit/etc...) and therefore not compatible with the GPX file from the Pegase Moto app.
Warning : each speed gauge is available in Mph (Miles per hour) and Kph (Kilometer per hour)
Note that the braking and acceleration gauge is actually a deceleration and acceleration gauge.
Fourth step :
Export your video !
Video export
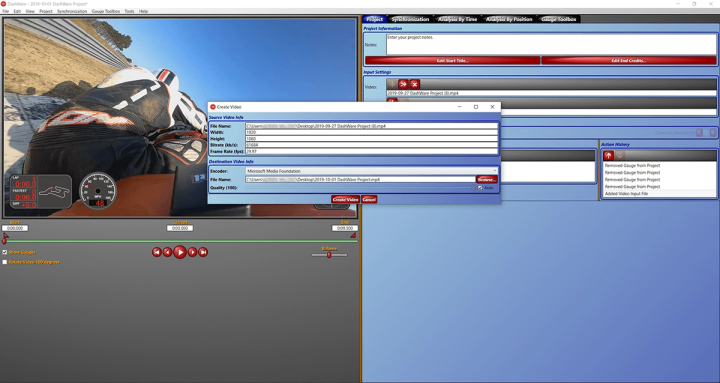
On the left hand side of Dashware, select the range of the video you wish to export with the red triangular markers to the far right and left of the video playback indicator.
Click on "Files" / "Create Video", click on "Browse" to save the video file in a folder with a name of your choice. Click "OK" to create your Dashware project.
Dashware will create your video, congratulations!
You did it !
Share your videos with us on Facebook, Twitter and Instagram !
Article published by Guillaume from SMT Performances on 01/10/2019